|
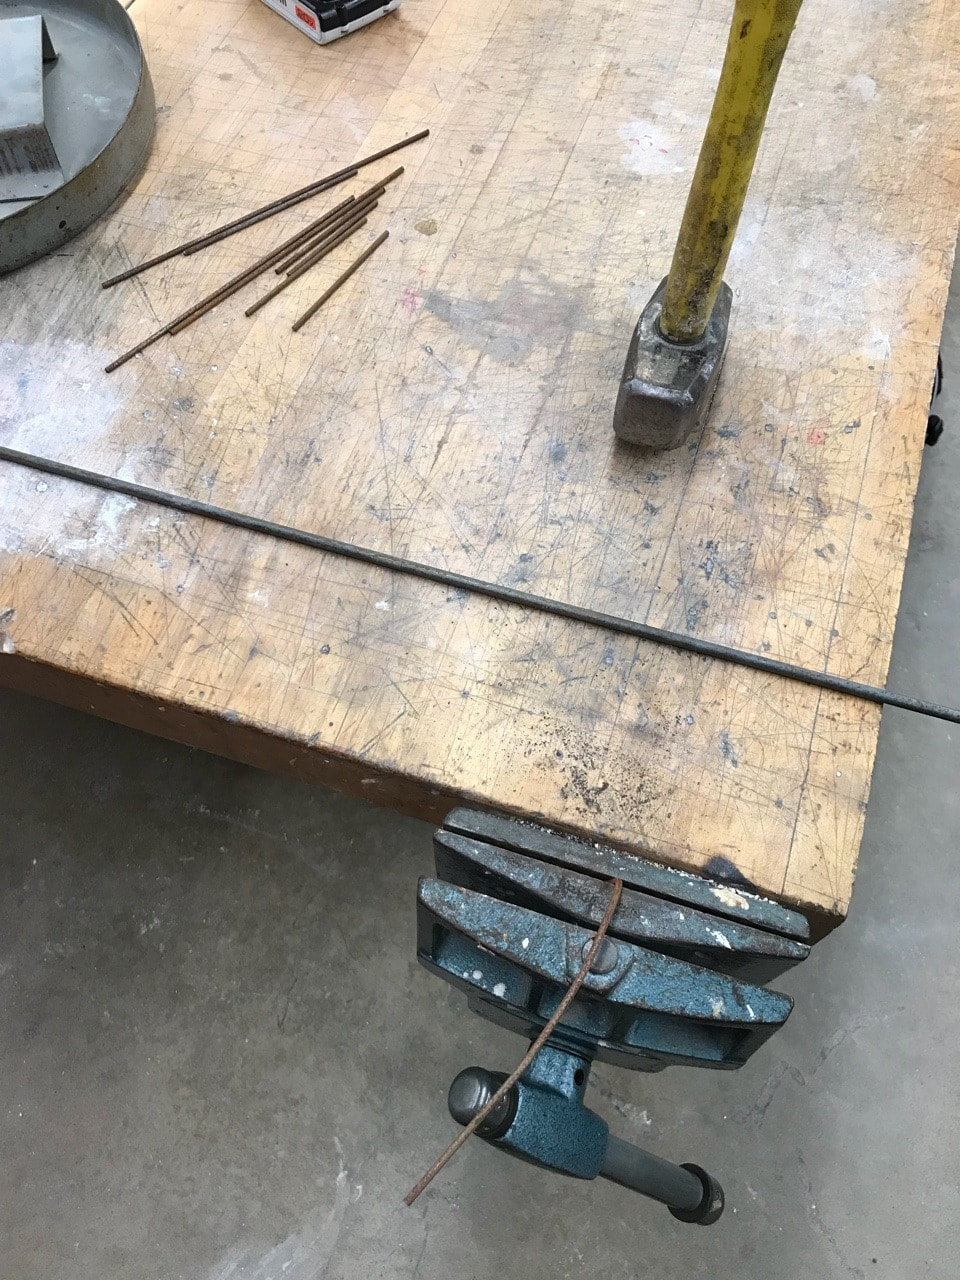
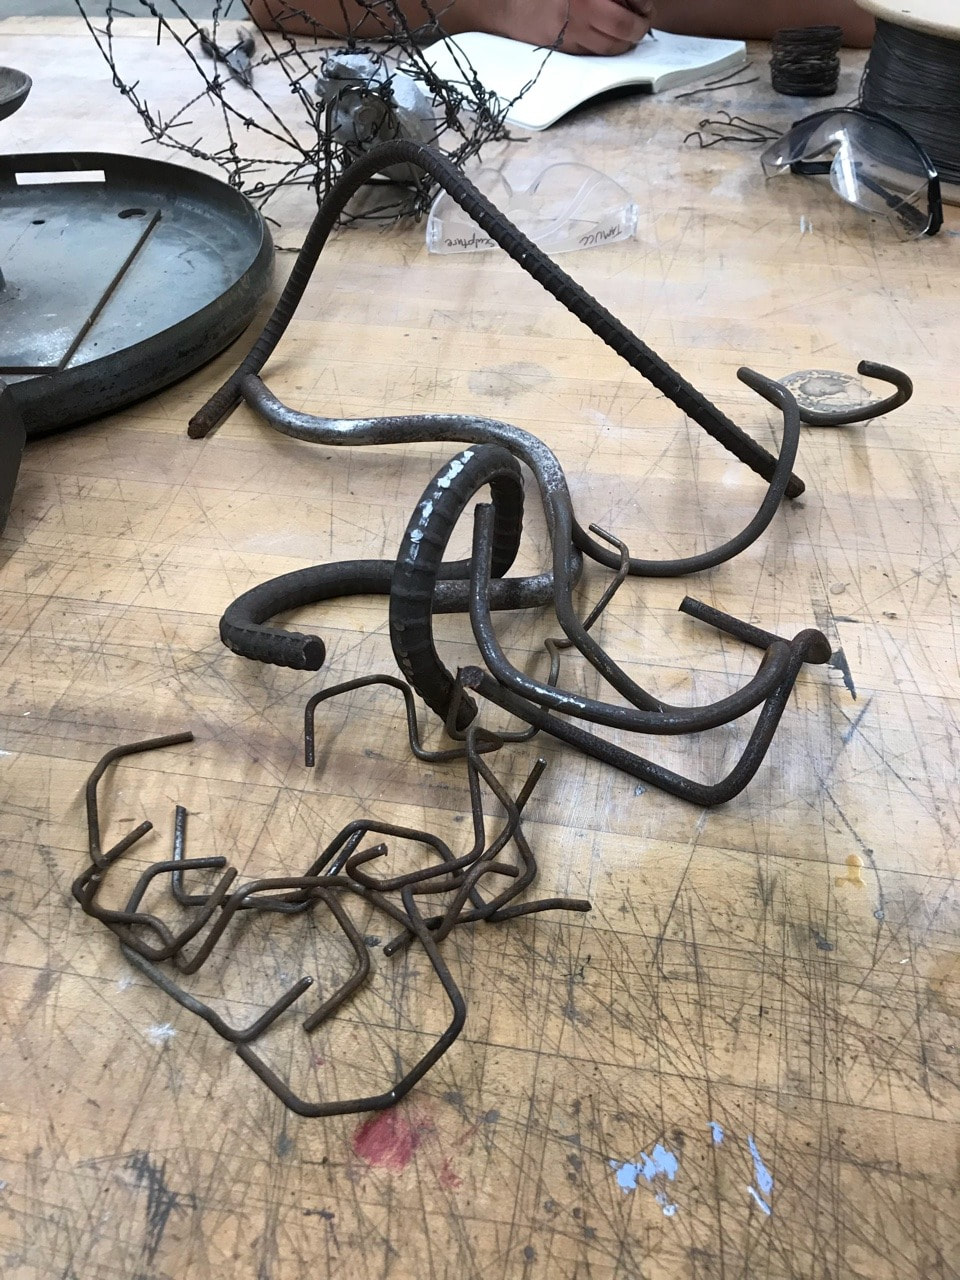
As Project 3 comes to an end I went ahead and got started for the final project for class which is the ReMix. I enjoyed the final product I had gotten from Project 2, so I decided to revisit piece but with multiples on a smaller scale. A good portion of class today was spent bending metal while waiting for wood filler to fully cure on part of my piece for Project 3.
0 Comments
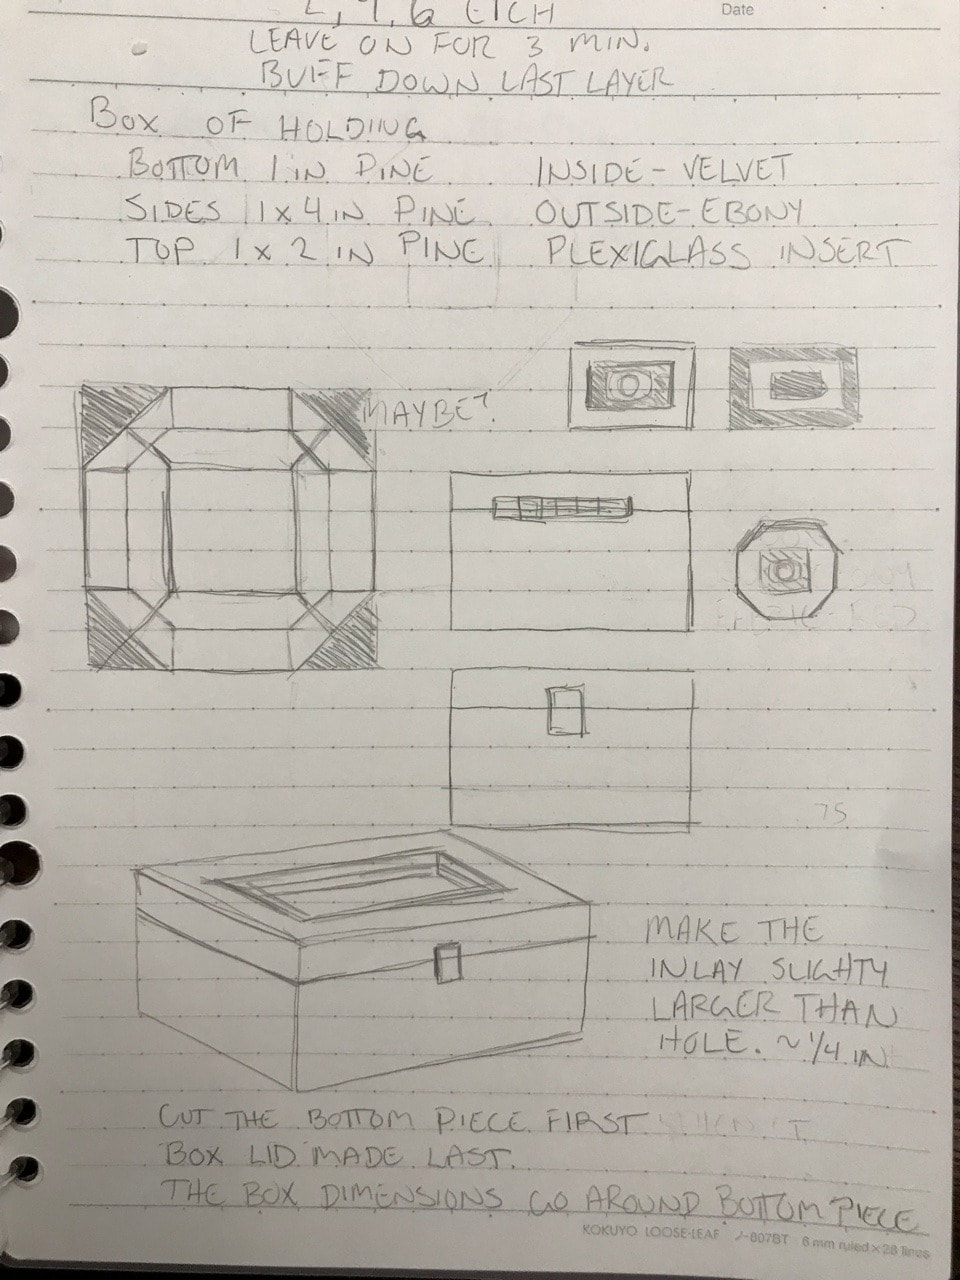 I was all over the place for the plans for the box portion of this project. I was initially going to go with something similar to some light boxes I had made back in the spring. I opted to go with a design I had scribbled on some scrap paper that was loosely based on my toolbox from Project 2 with the angled sides. There's a lot of sanding that needs to be done for the sides for my box, but I'm confident in getting the final angles for everything to fit together just right. There was a lot of recutting pieces due to me not double-checking my cuts. Finally a peak at the brass hinges and the redrawn design that's going on the box.
 Our final project in my Sculpture 1 class is to make a functional belt buckle and a wooden box to hold it. Above, are a few of my designs that I had sketched out for my buckle including the buckle shape and the pieces that go on top. To test out if the designs would work out in metal, we were instructed to cut out our designs out of cardboard. The idea is that if the design can be cut out of cardboard, then it can be cut out of metal. I finally opted for a circular design based on some confetti I had picked up off of the ground. The design itself is based off of an icon/logo I had made for a project I've been working on over the past year. 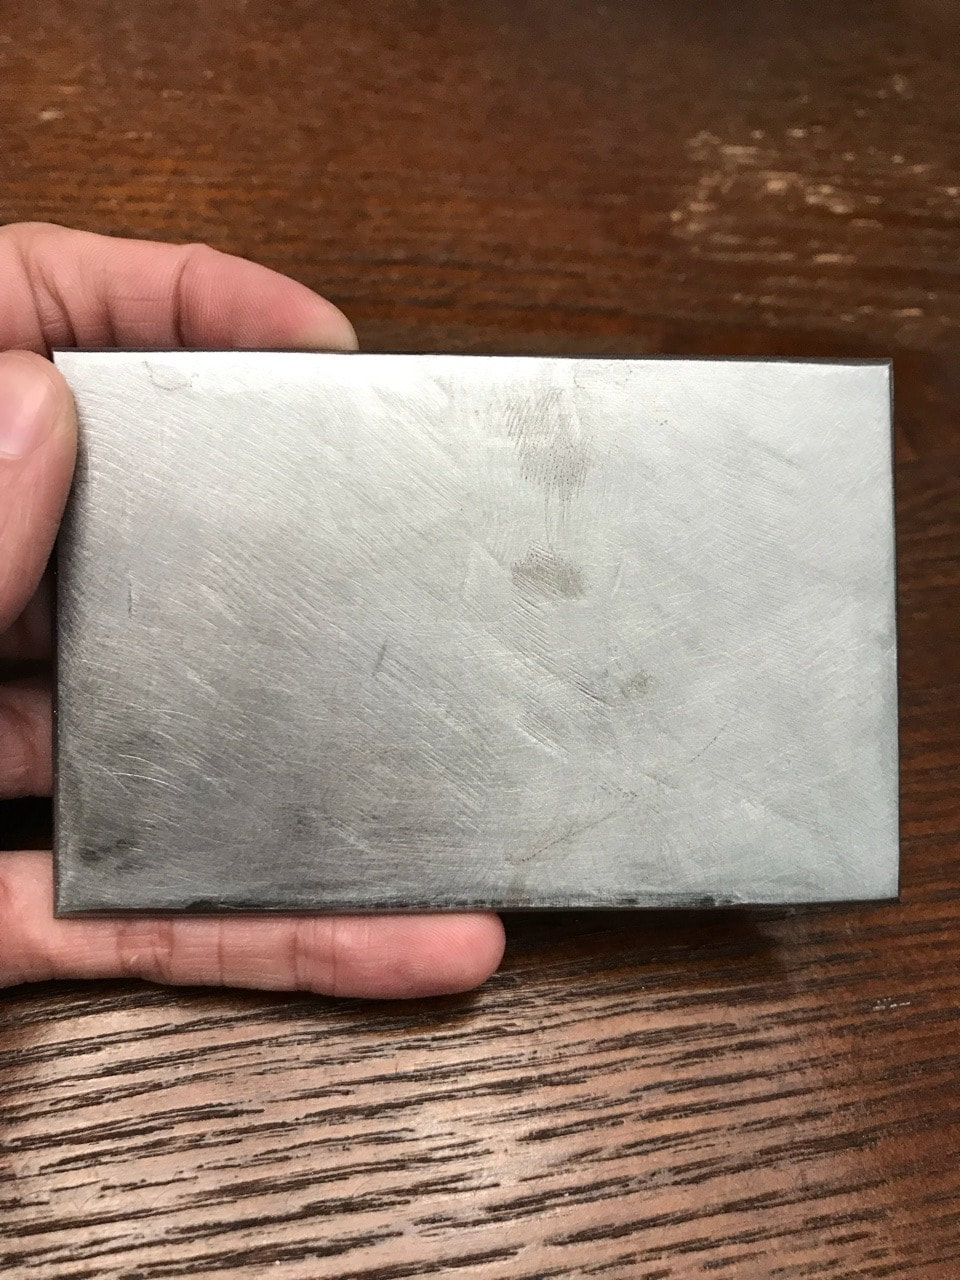 Finally is the metal plate that I've cut for the base of my buckle. I still need to on buffing out the scratches and divots before polishing. That or I could always cut the other piece of metal I have left over and use this piece for practice.
|
S.L. SpauldingSketches & W.I.P.s Categories
All
Archives
April 2018
|


 RSS Feed
