|
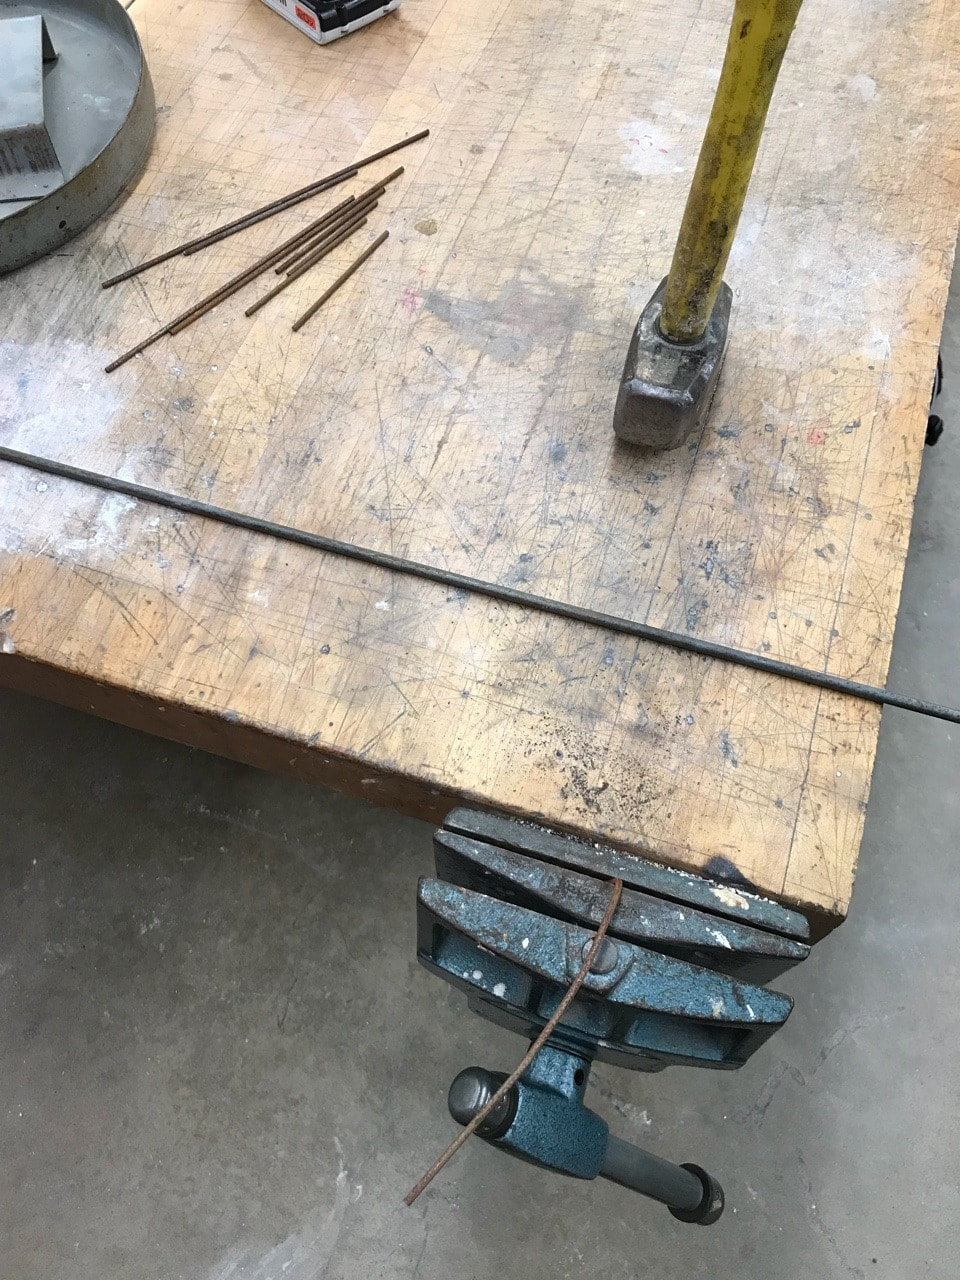
As Project 3 comes to an end I went ahead and got started for the final project for class which is the ReMix. I enjoyed the final product I had gotten from Project 2, so I decided to revisit piece but with multiples on a smaller scale. A good portion of class today was spent bending metal while waiting for wood filler to fully cure on part of my piece for Project 3.
0 Comments
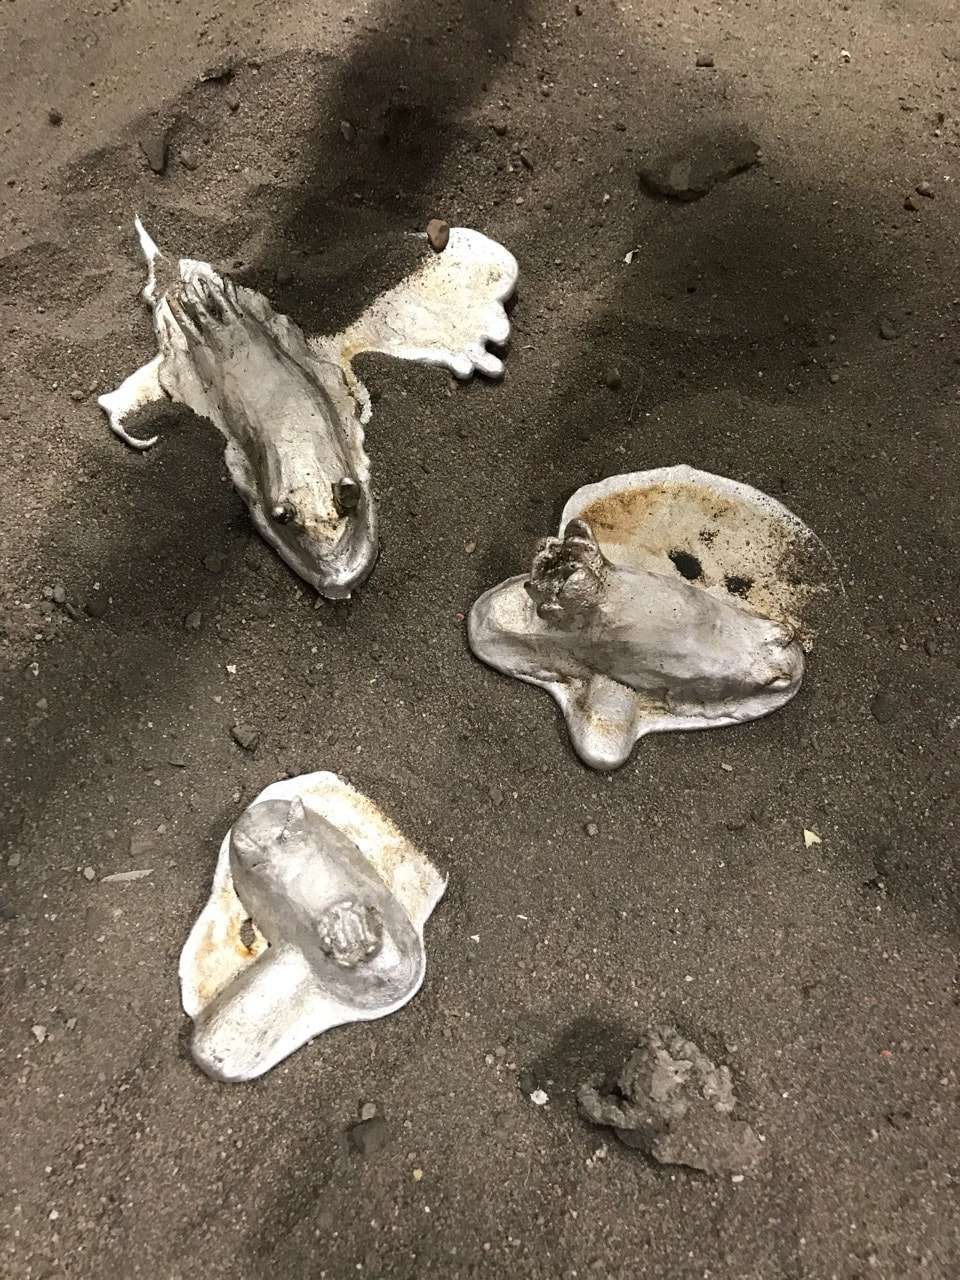
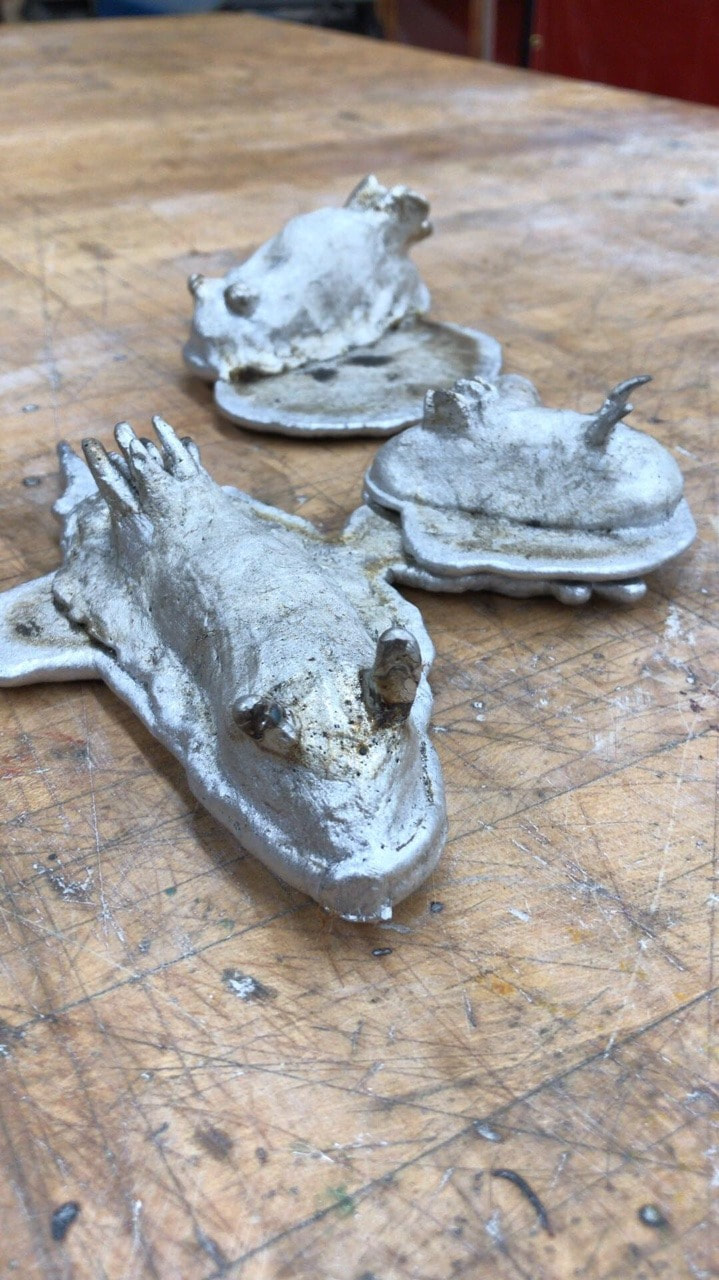
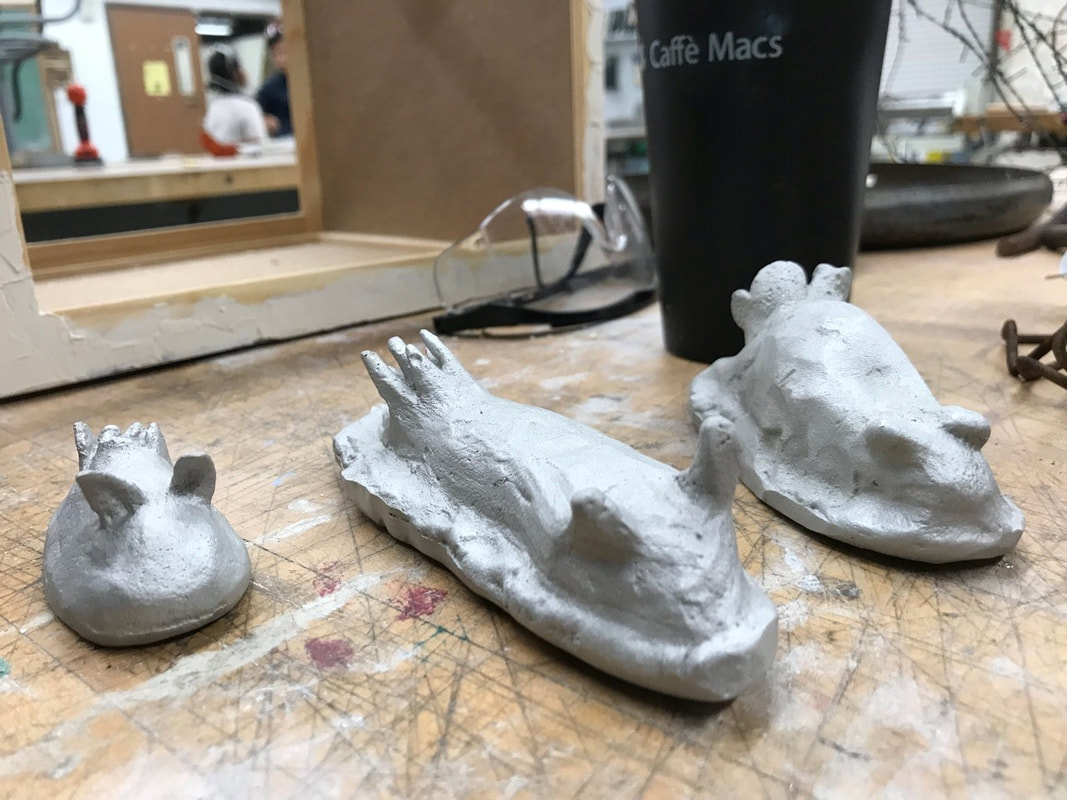 Today was my day that I finally sat down and cleaned up the excess metal off of my slugs and got them nice and pretty for the final product of this project. I had also popped the little lads into the sandblaster after I was finished with the grinder to give them a nice matte finish.
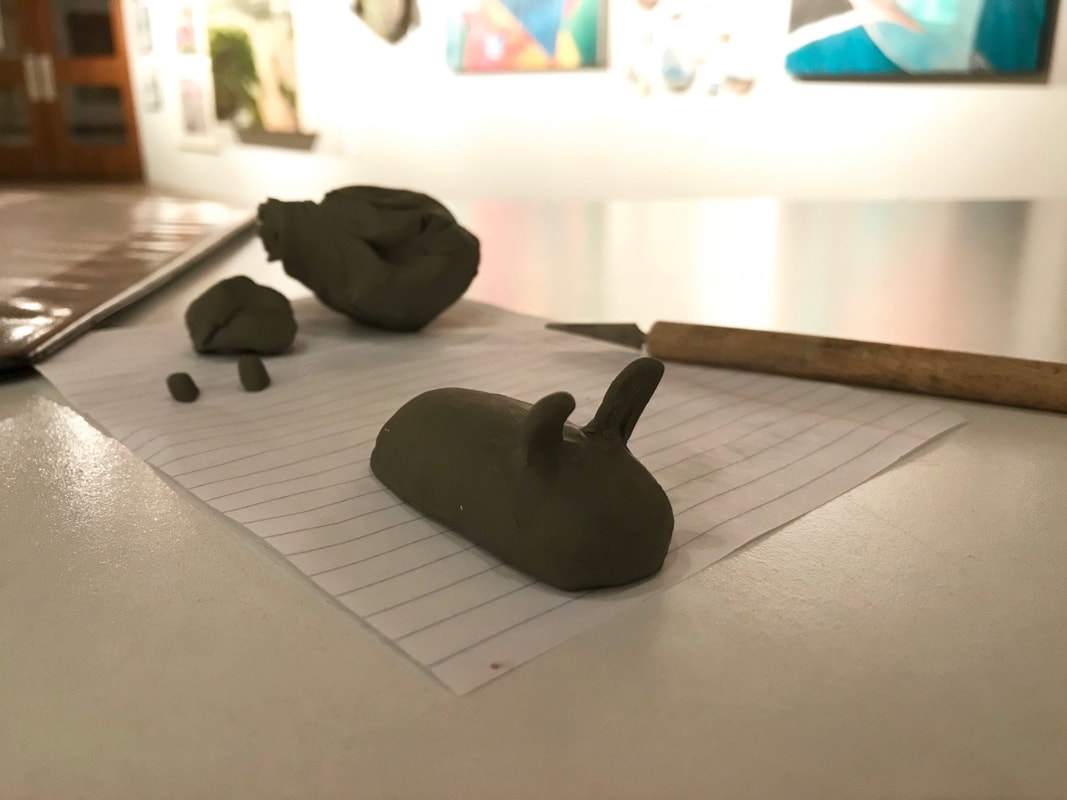
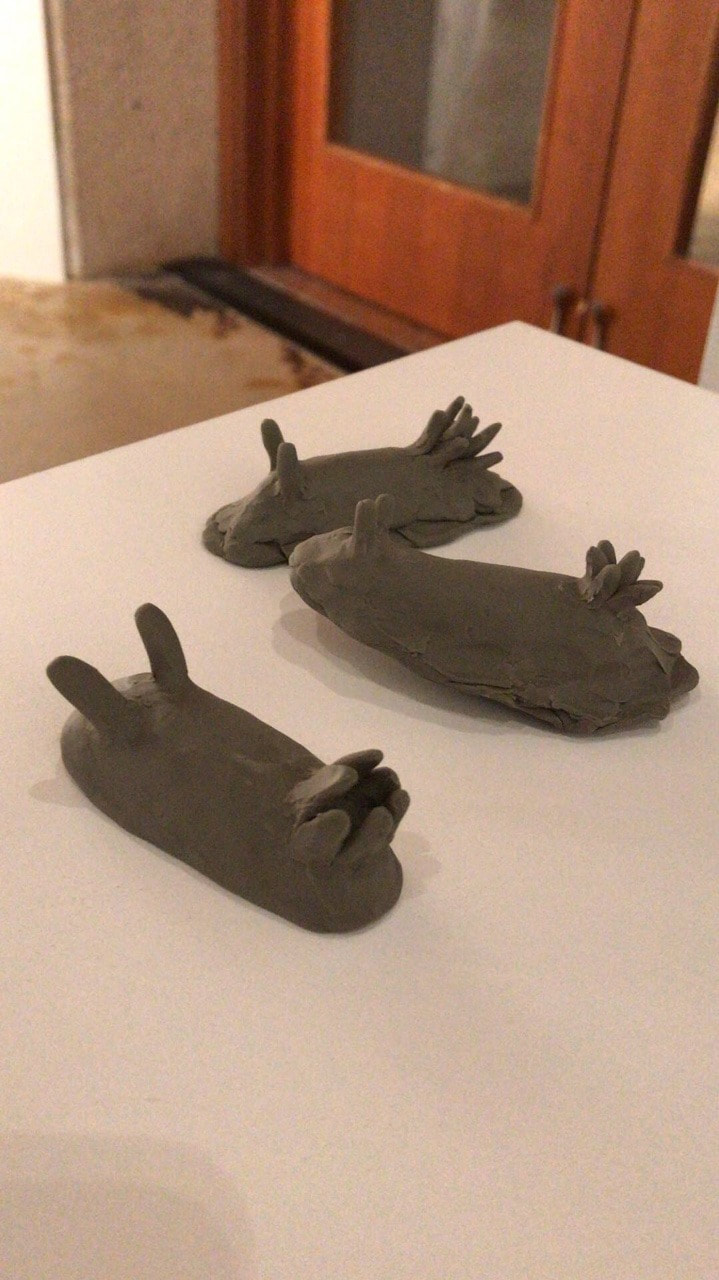
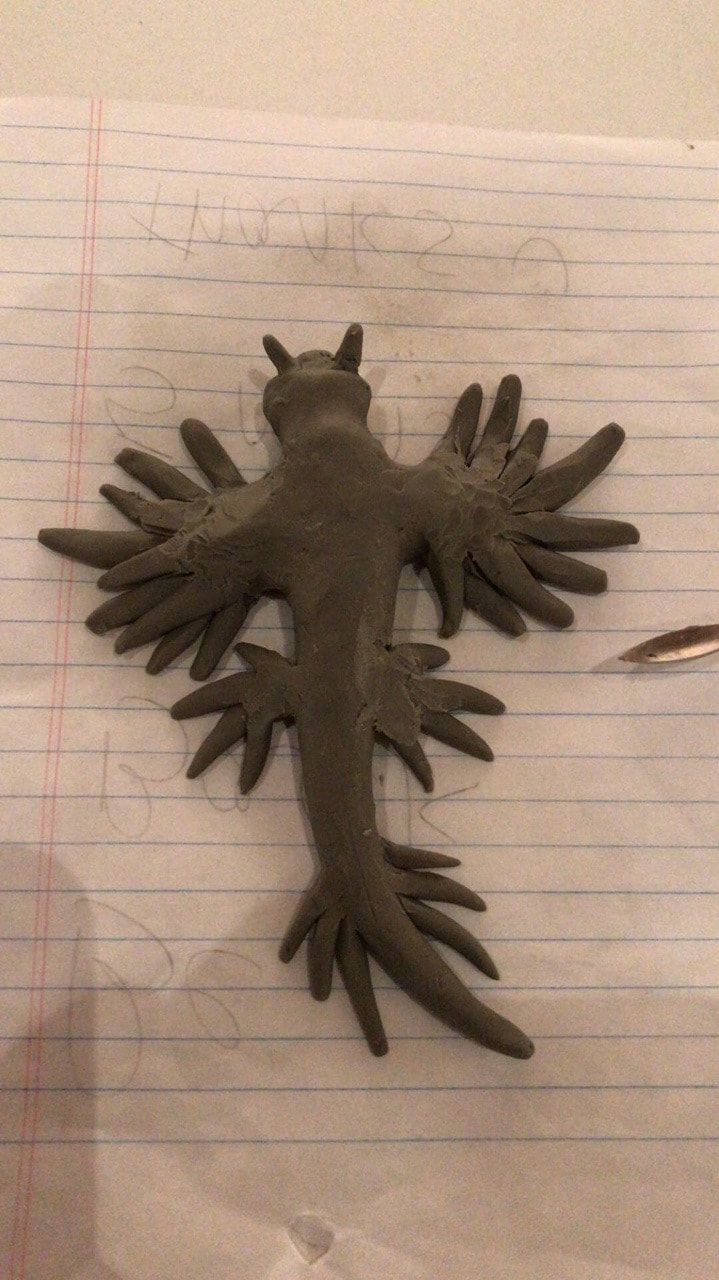
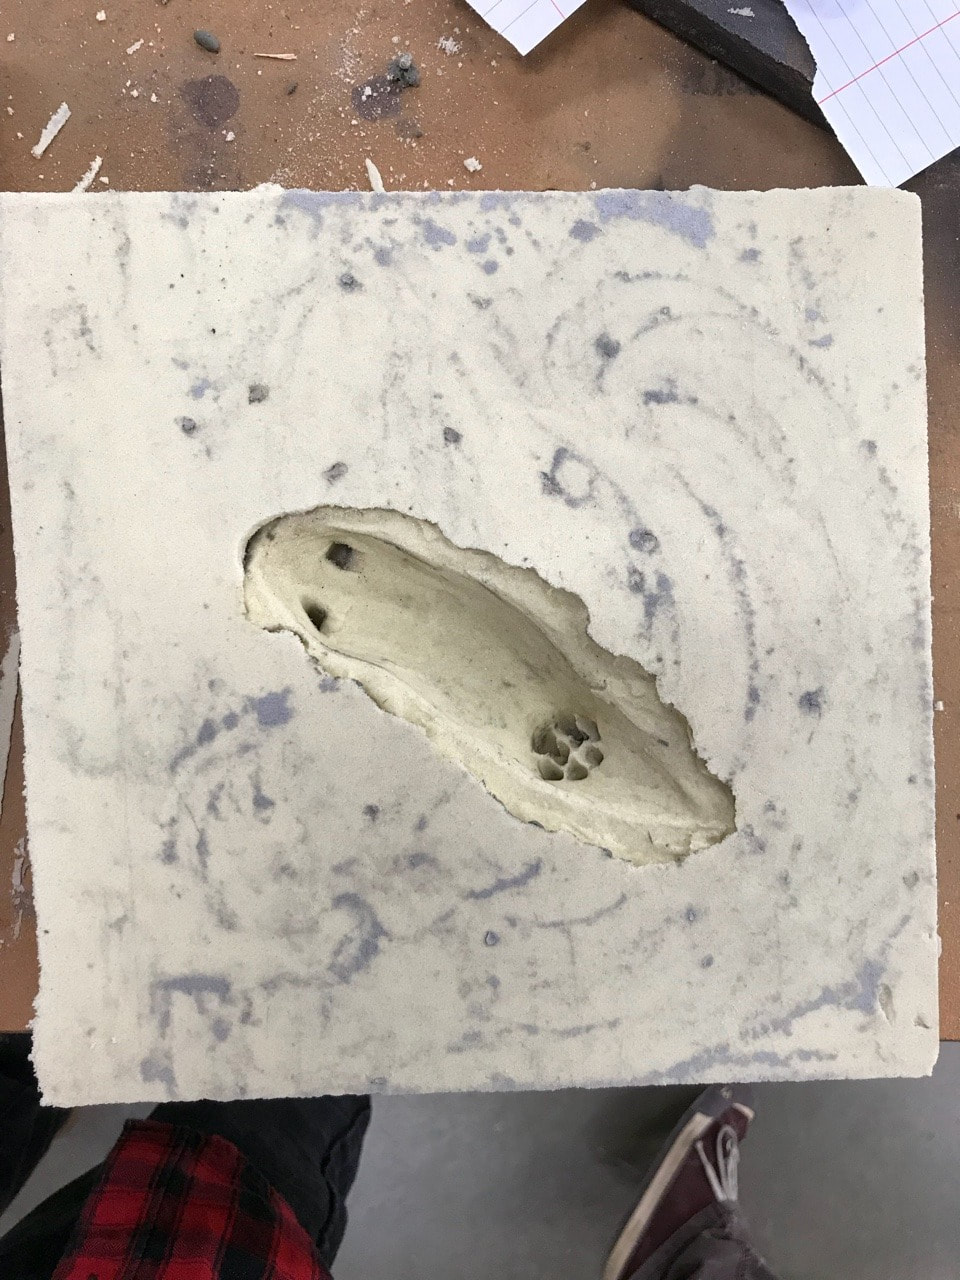
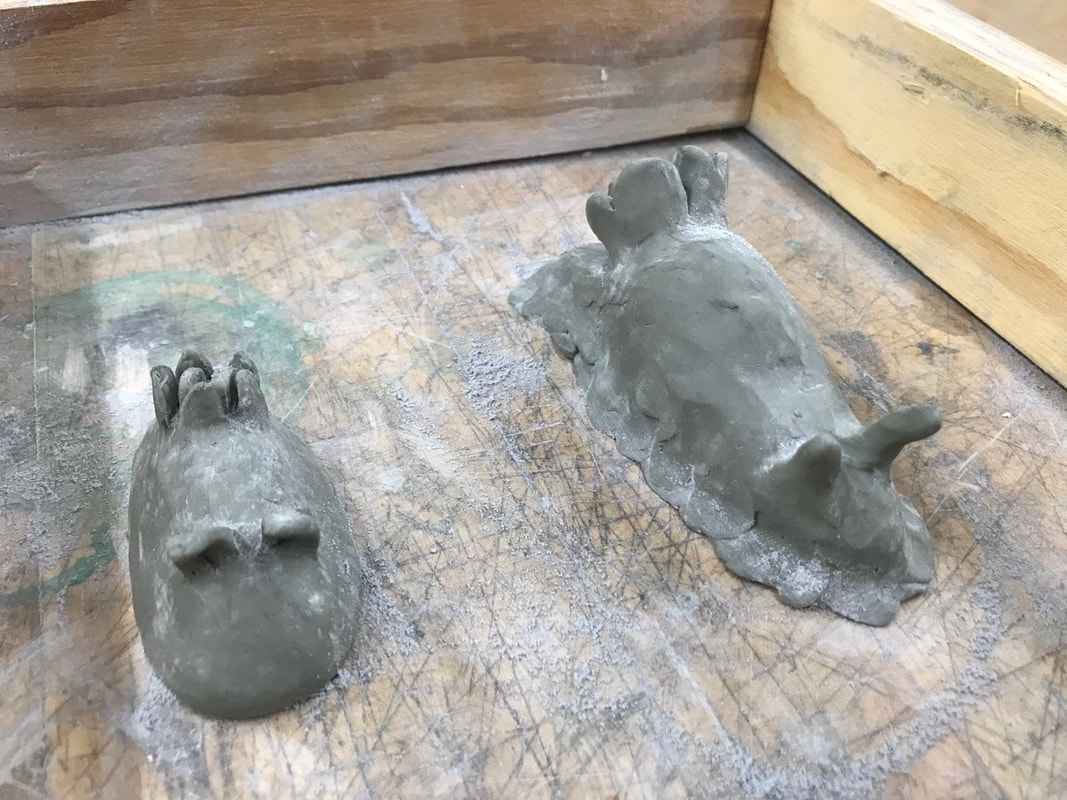
I made the executive decision to make more slugs out of different types of clay to add more variation of materials within my finished piece. The slugs are loosely based on real species of nudibranchs.
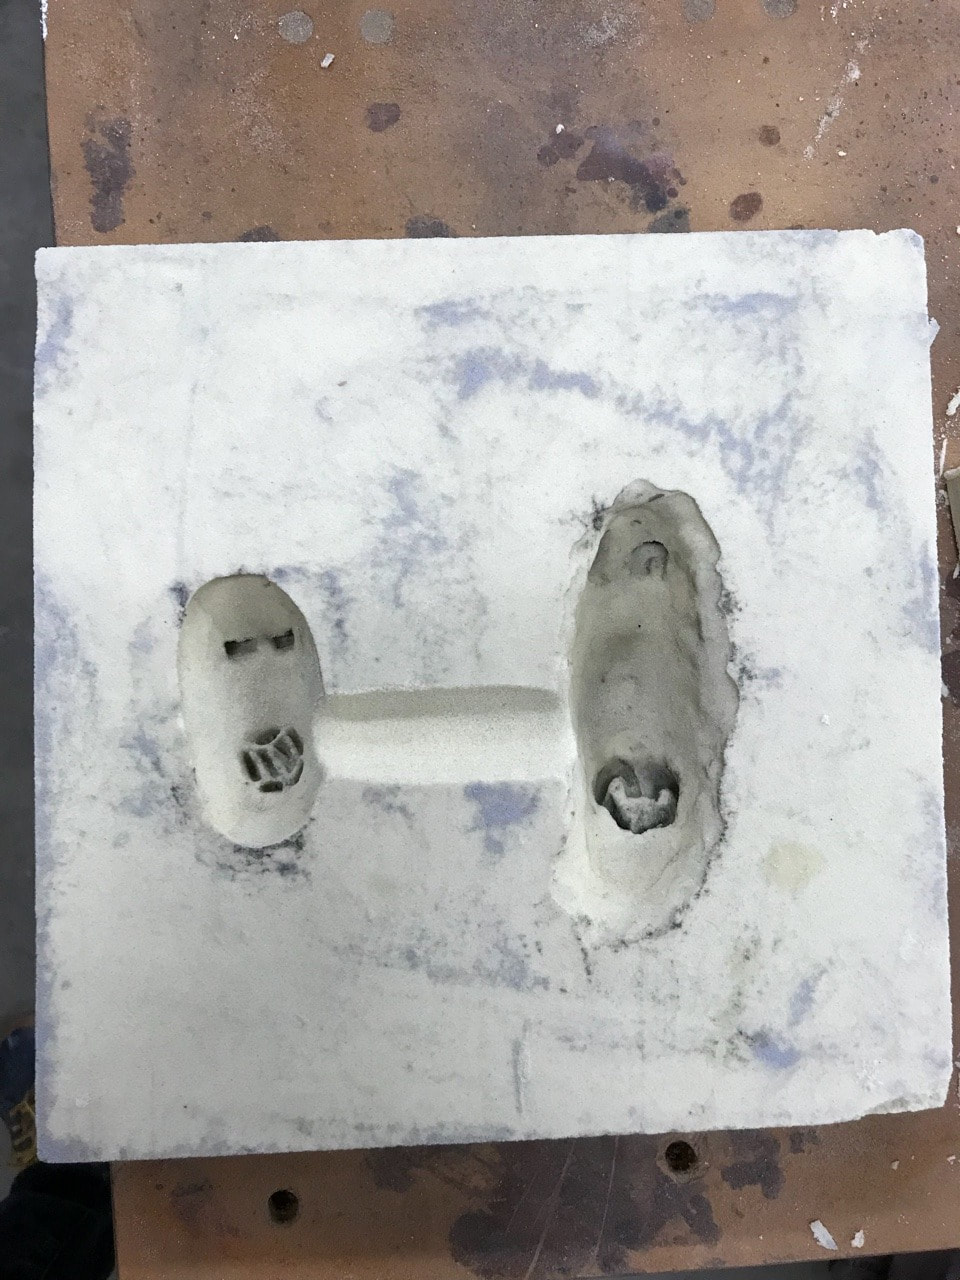
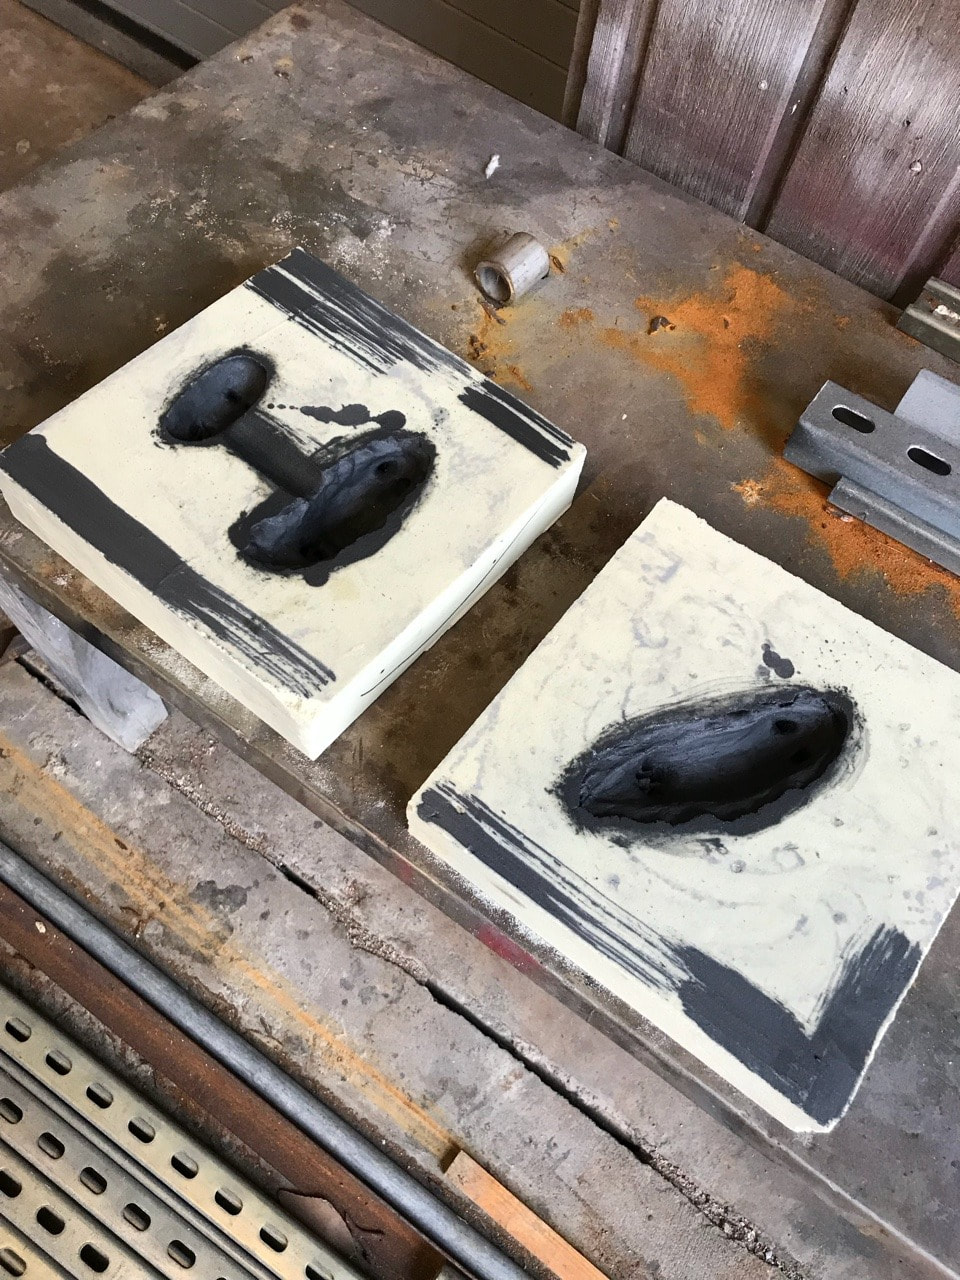
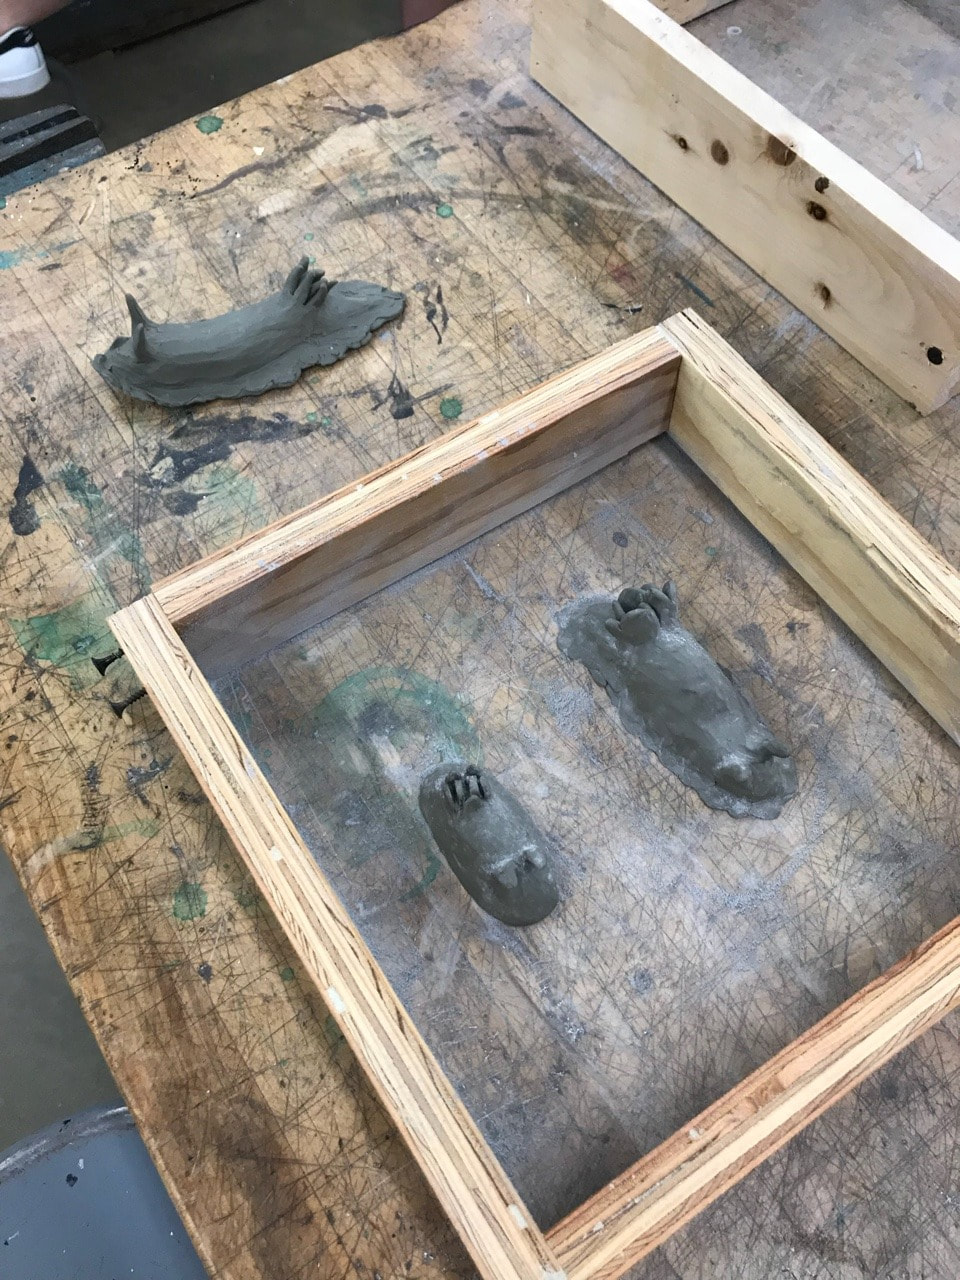
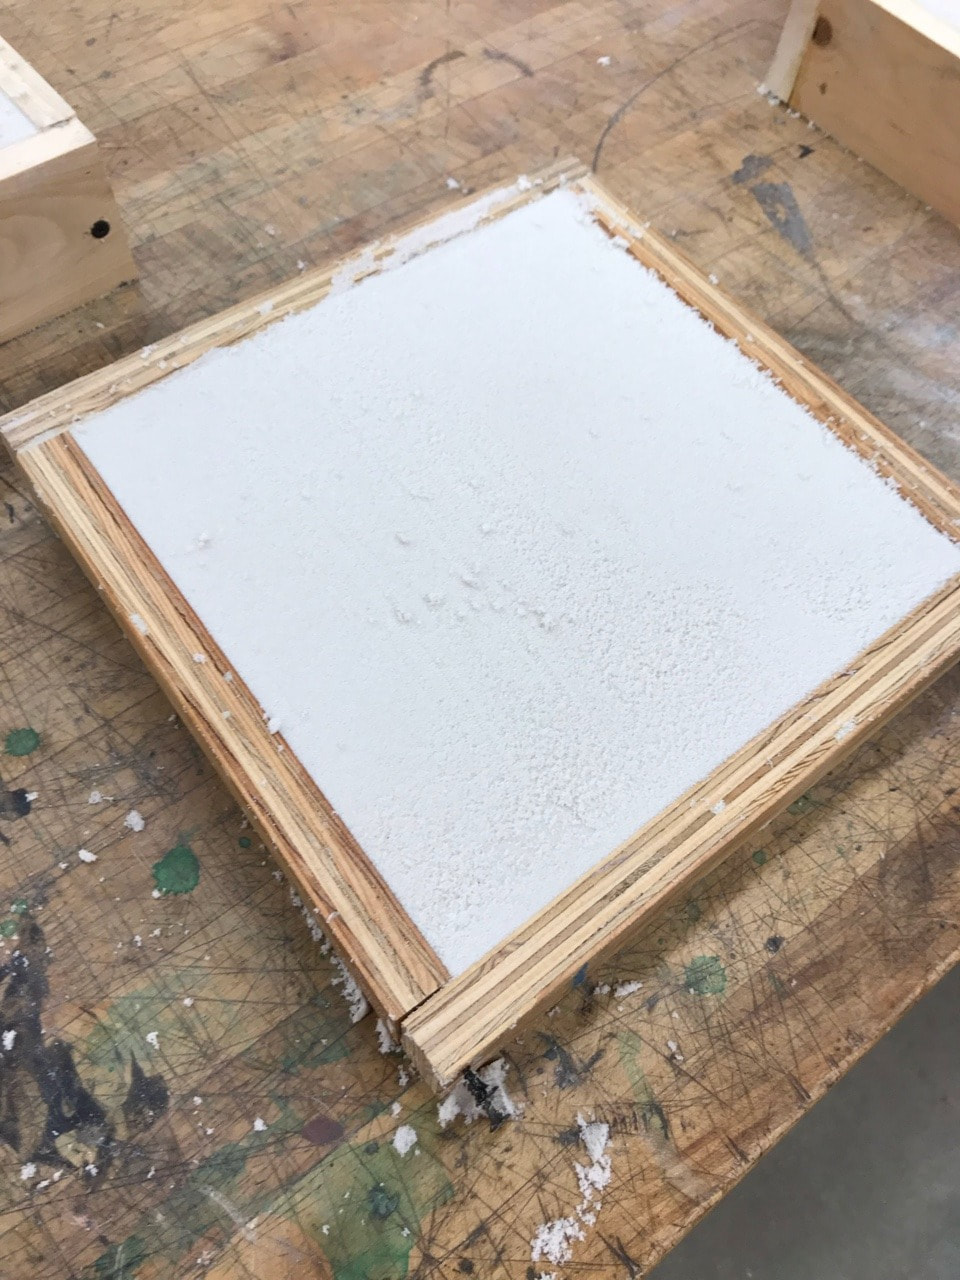
With the resin sand molds finally being fully cured from last class, I went ahead and prepped for today's aluminum pour. This mainly consisted of some minor cleanup and removing excess sand from the mold before having a graphite/denatured alcohol mixture brushed on.
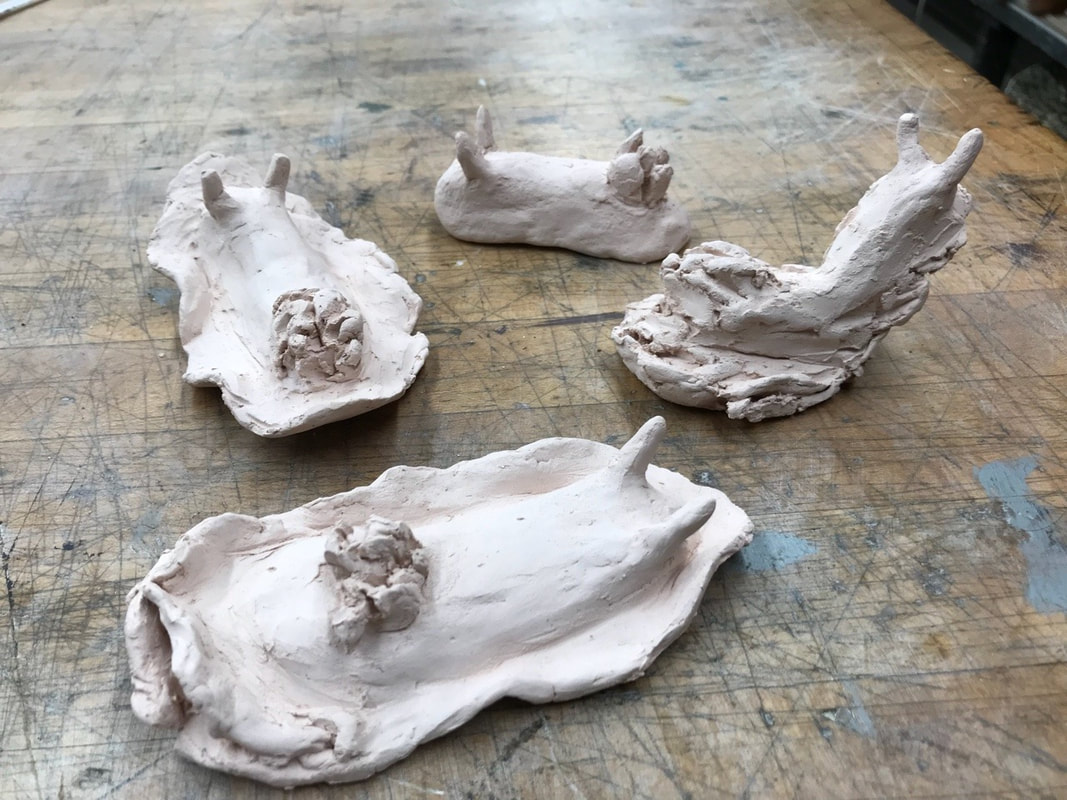
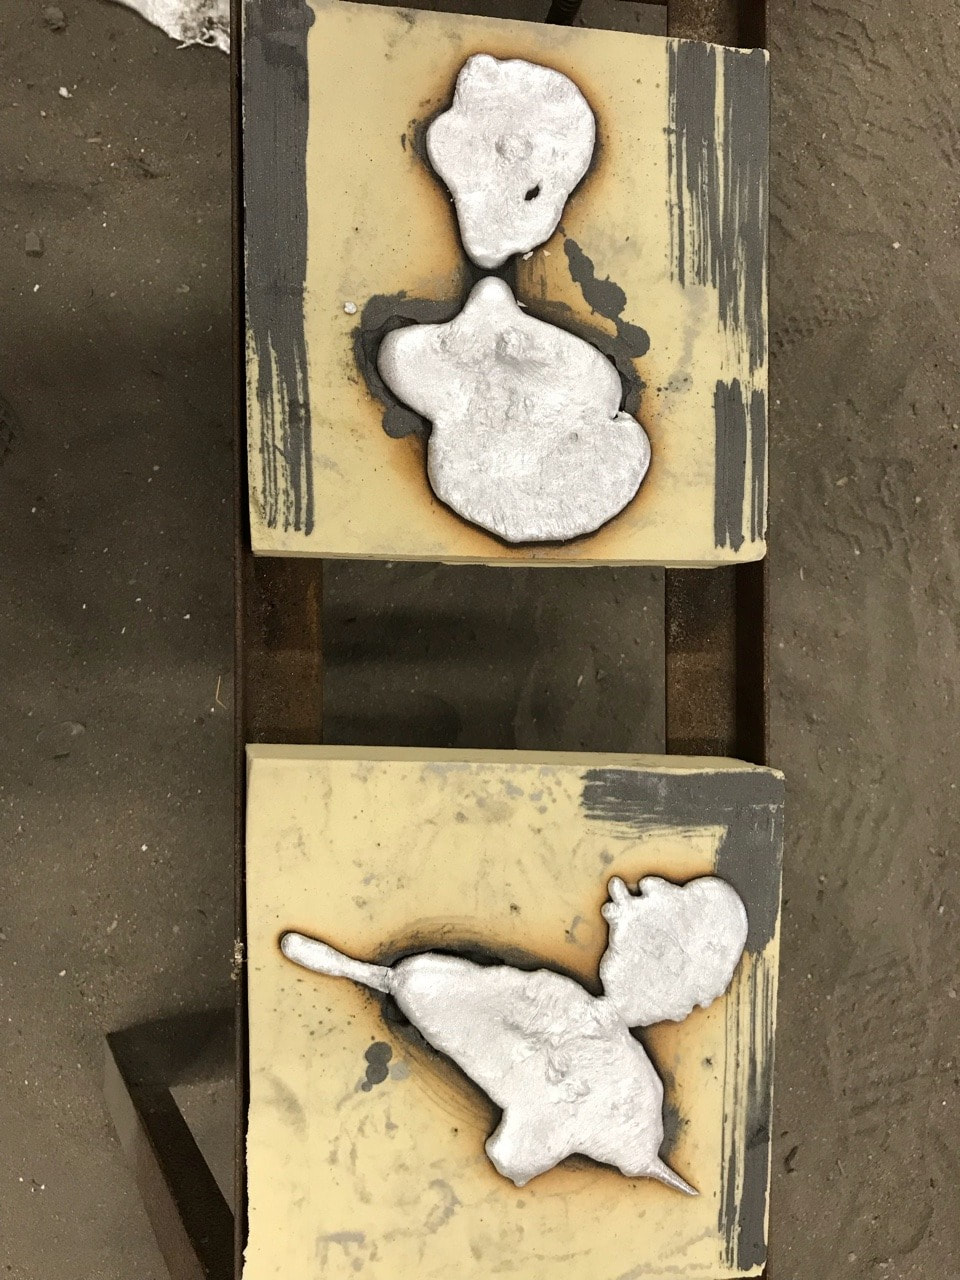
Towards the end of the class we did a quick pour with enough time to pop out my lads from the mold. While the pieces didn't come out exactly like the clay models, I'm still happy with my final results. Project 3 has started up, and not gonna lie but I'm not entirely sure what I'm doing for the project itself. Here's some nudibranchs getting prepped to be part of a sand resin mold.
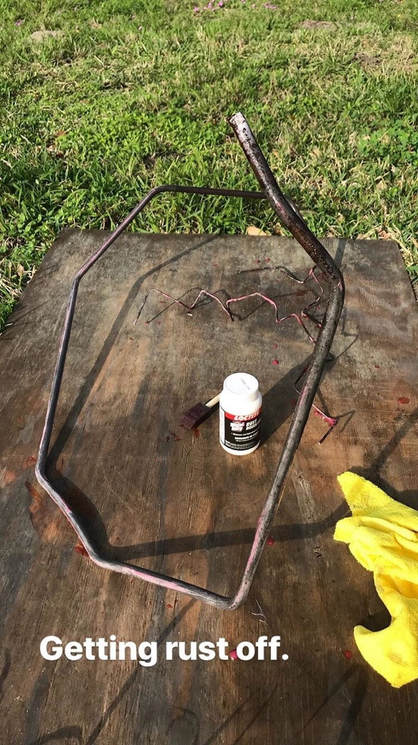 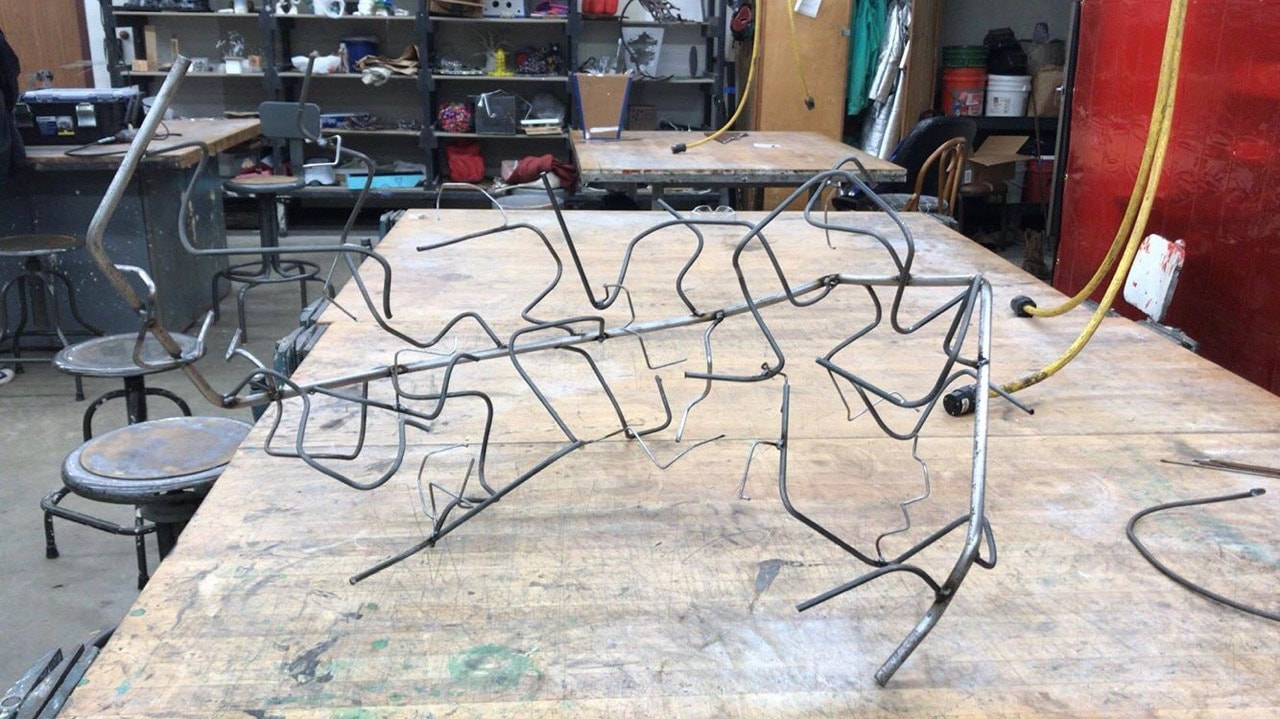 I'm always bad at taking in-progress photos of my work for my sculpture work. This is mainly because I'm usually so focused on getting the project completed that taking a quick progress picture doesn't even come to mind when I take a break. The image on top is when I was using a rust dissolver on my metal to help take care of my rust cleanup faster. It actually did not help me out that much (and also lead to an impromptu vet visit for my dog a couple days later due to that my dog grazes as much as a goat). The bottom image is when I had finally finished a majority of my welding and started up on cleanup.
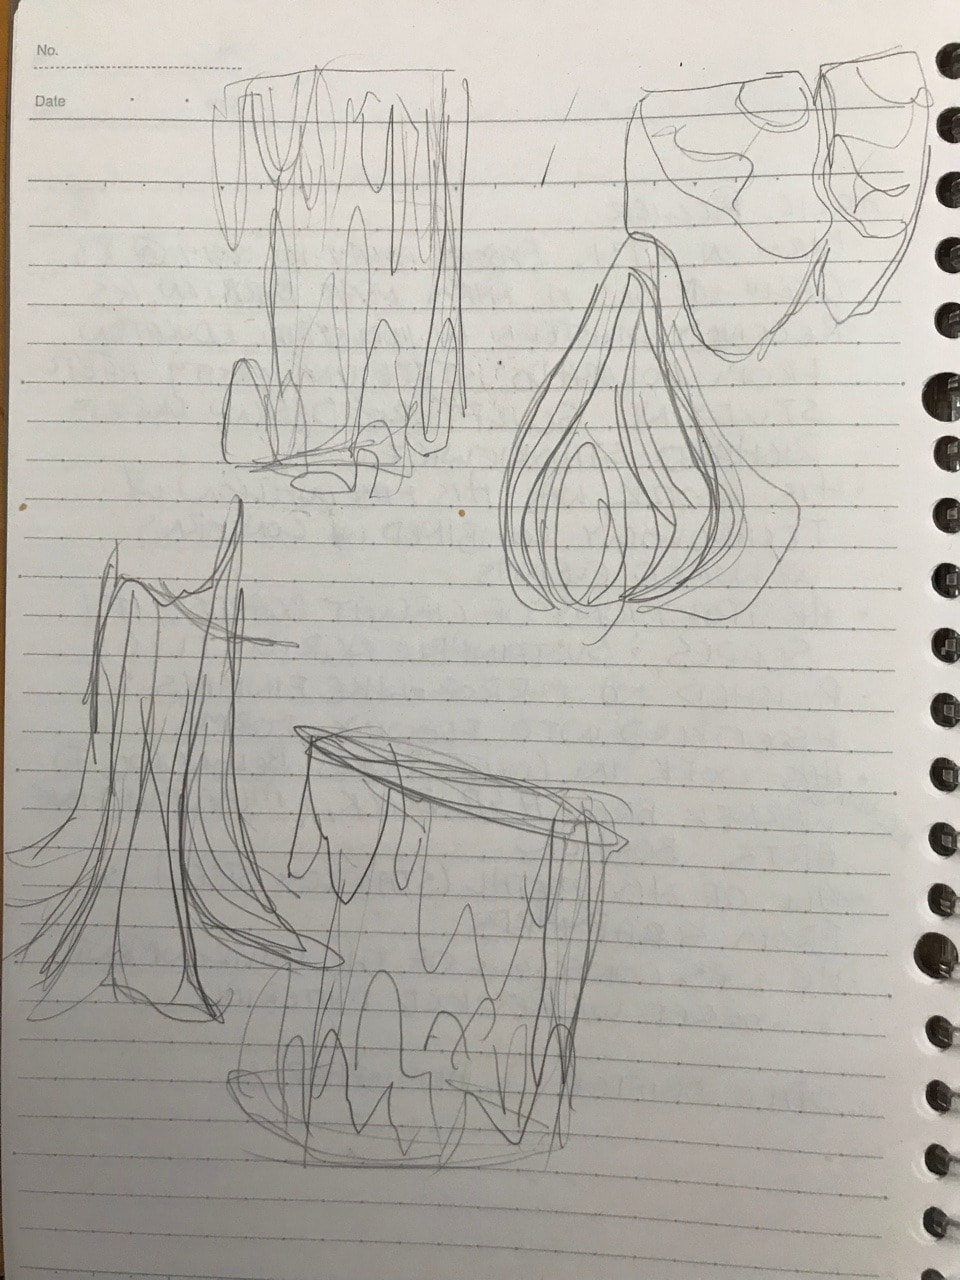
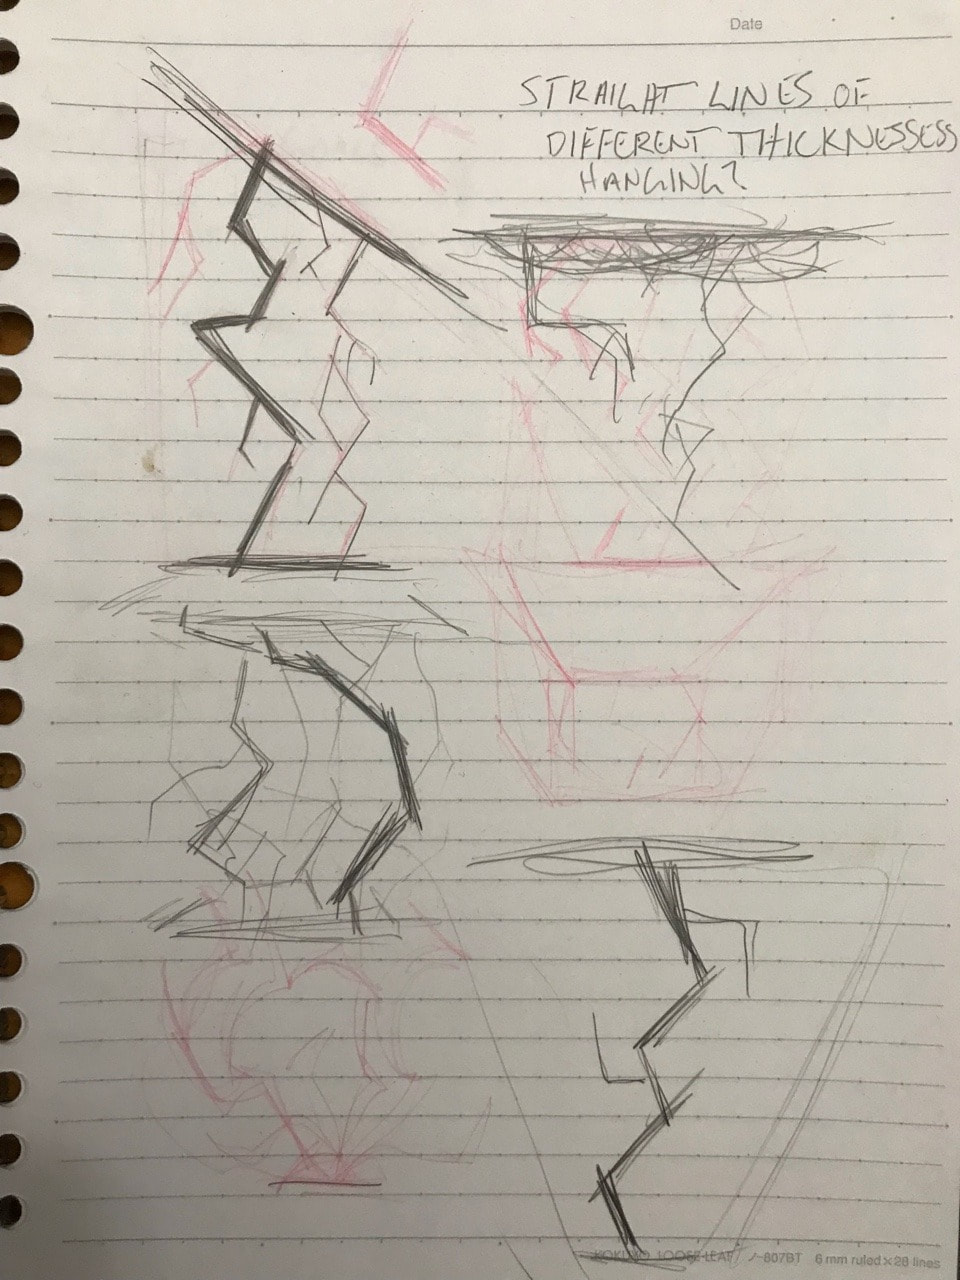
I struggled a lot coming up with designs for this project. With the project being nature-inspired, I immediately hit a rut with how I was going to approach the project. Initially I thought about utilizing geodes and mineral formations for the project, but I wasn't overly thrilled with the idea. Then I saw someone's desktop picture of on of the preloaded images available to chose from of some lightning and I was off scribbling up ideas on how to make energy have mass.
Here we are again... Shop Cla- I mean, Sculpture Class. More specifically Sculpture 2. Our first project is to design and construct a lamp using sheet metal and welding techniques to play with light and shadow. Below are some select lamps that I loved the aesthetics and the lighting effects to help me come up some designs of my own.  I was all over the place for the plans for the box portion of this project. I was initially going to go with something similar to some light boxes I had made back in the spring. I opted to go with a design I had scribbled on some scrap paper that was loosely based on my toolbox from Project 2 with the angled sides. There's a lot of sanding that needs to be done for the sides for my box, but I'm confident in getting the final angles for everything to fit together just right. There was a lot of recutting pieces due to me not double-checking my cuts. Finally a peak at the brass hinges and the redrawn design that's going on the box.
 Our final project in my Sculpture 1 class is to make a functional belt buckle and a wooden box to hold it. Above, are a few of my designs that I had sketched out for my buckle including the buckle shape and the pieces that go on top. To test out if the designs would work out in metal, we were instructed to cut out our designs out of cardboard. The idea is that if the design can be cut out of cardboard, then it can be cut out of metal. I finally opted for a circular design based on some confetti I had picked up off of the ground. The design itself is based off of an icon/logo I had made for a project I've been working on over the past year. 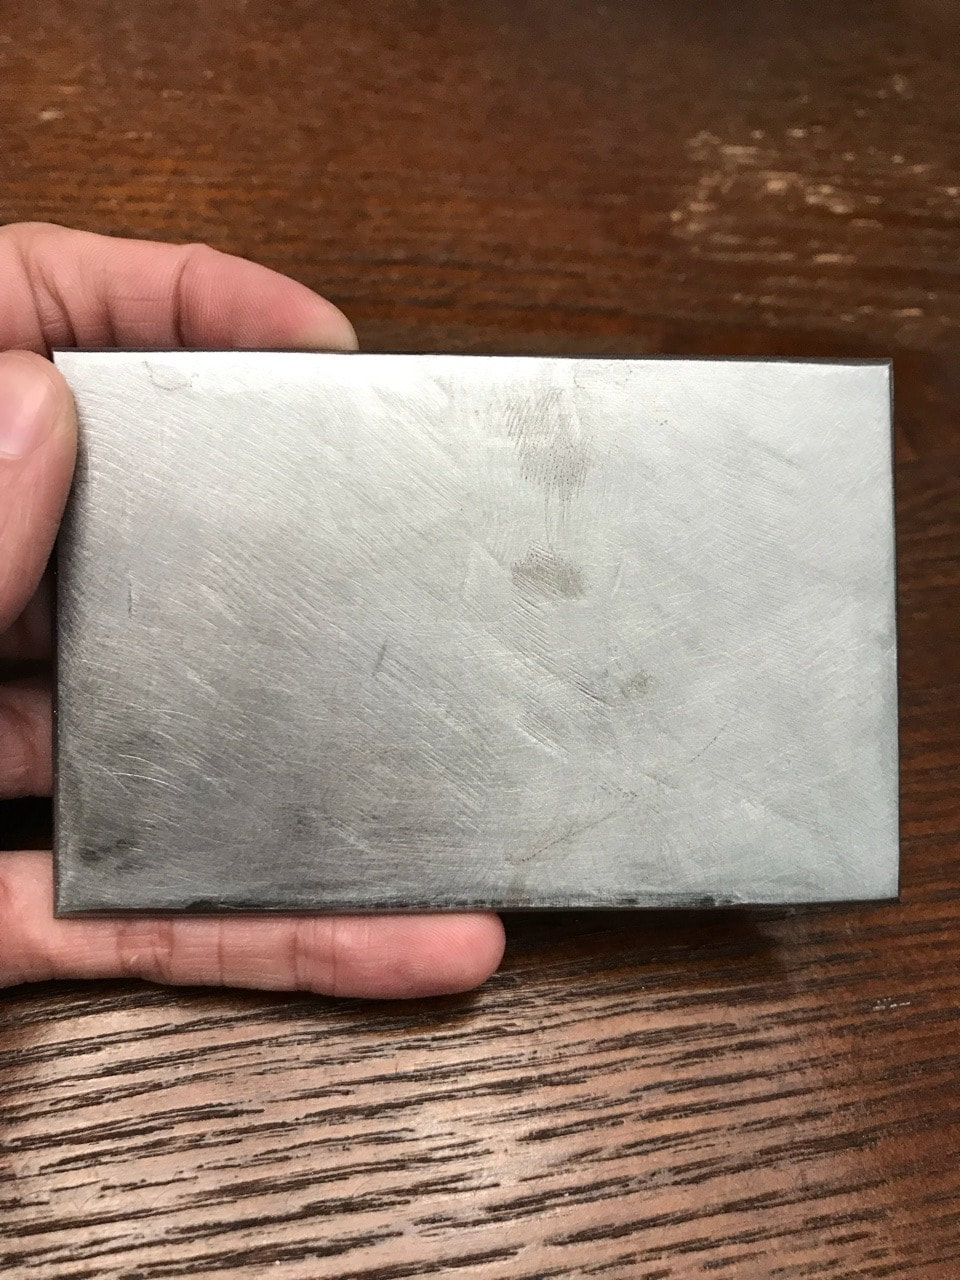 Finally is the metal plate that I've cut for the base of my buckle. I still need to on buffing out the scratches and divots before polishing. That or I could always cut the other piece of metal I have left over and use this piece for practice.
|
S.L. SpauldingSketches & W.I.P.s Categories
All
Archives
April 2018
|


 RSS Feed
